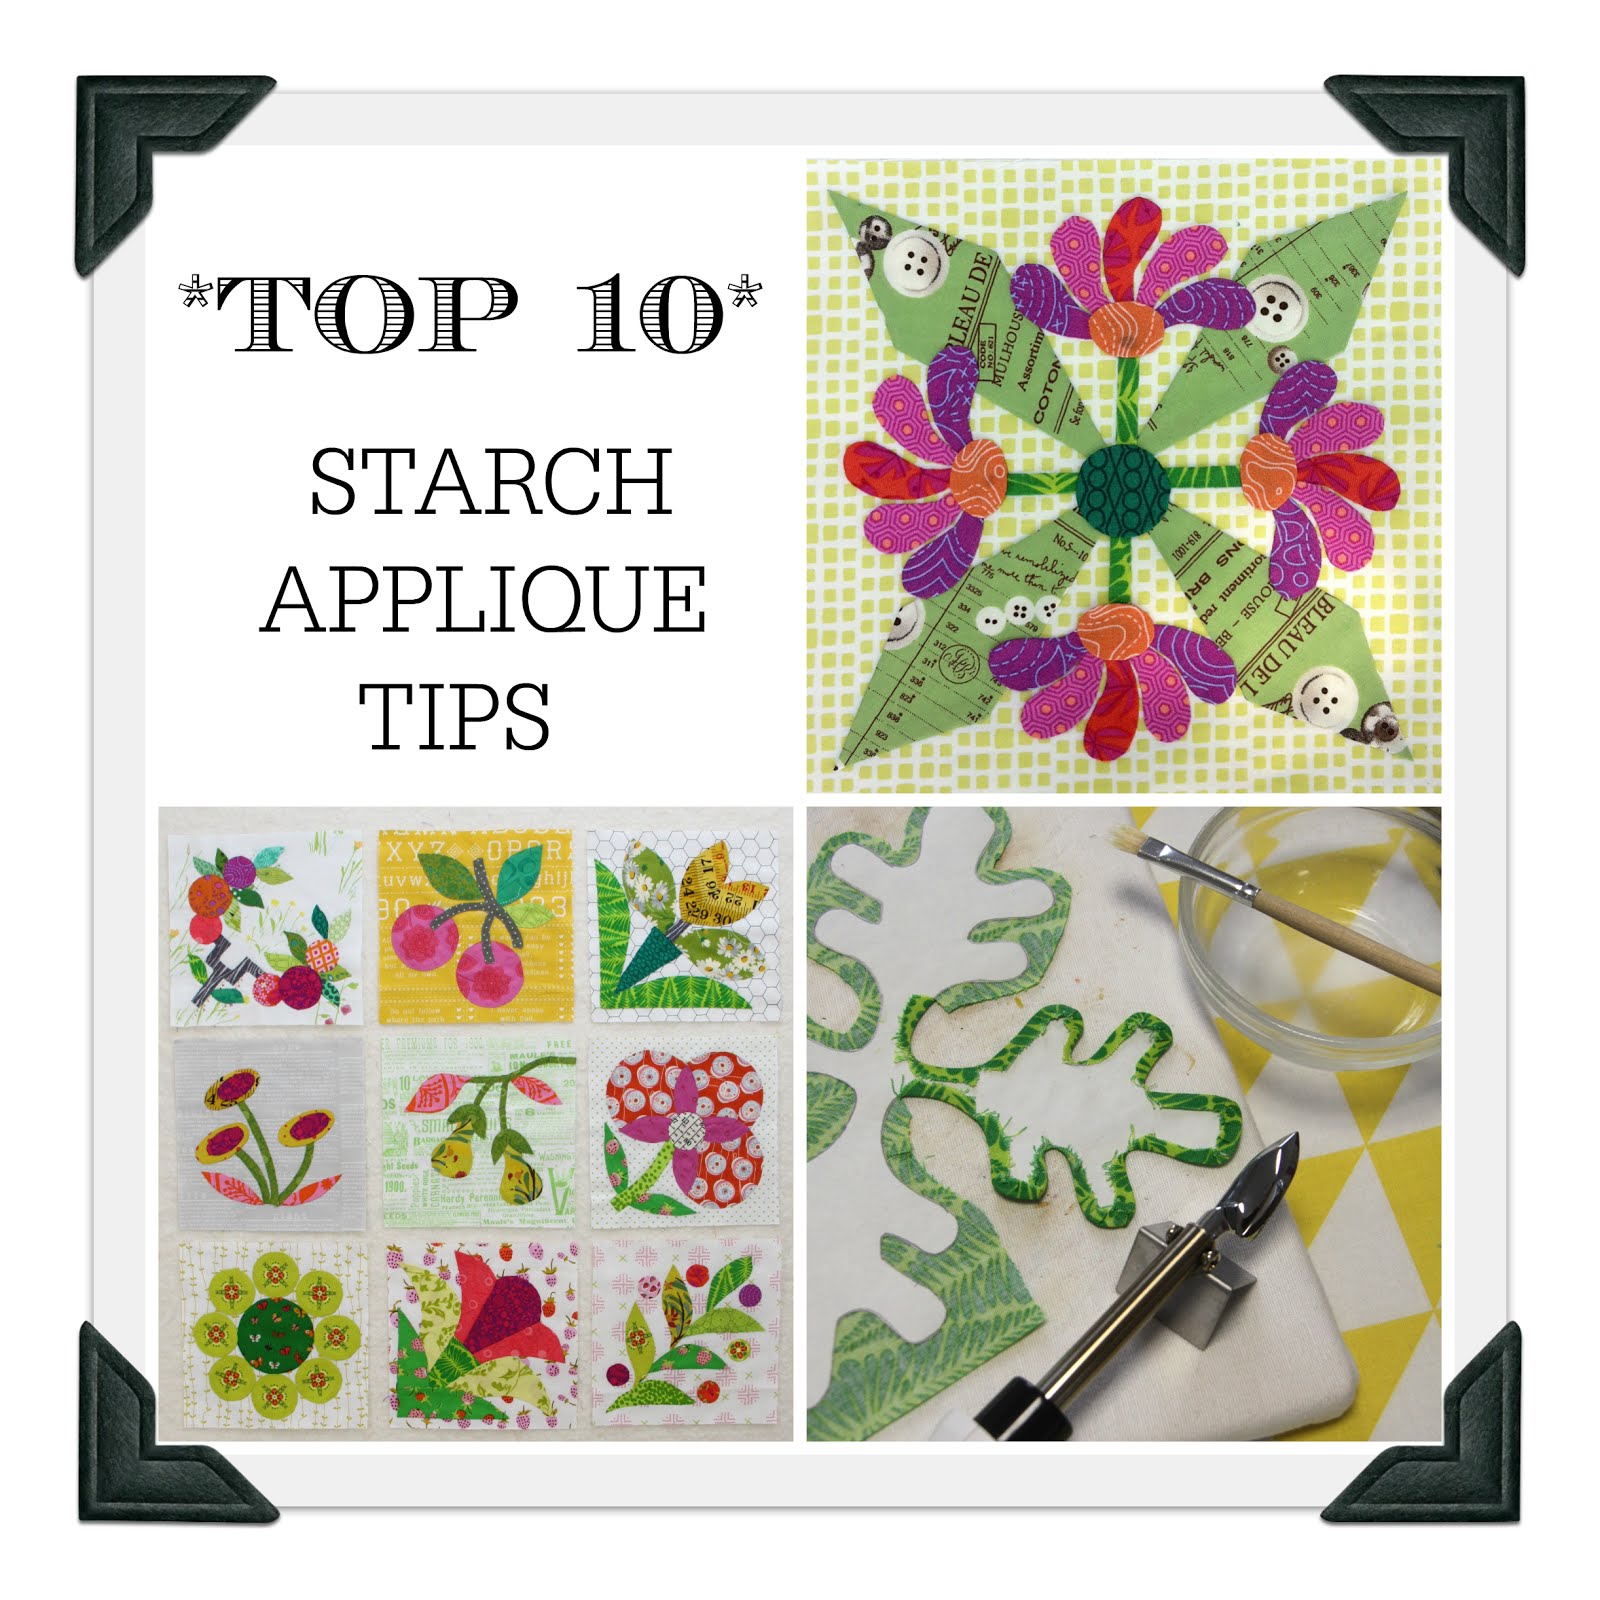
It's great to have another quilter in the family that you can simply "talk shop"... favorite fabrics, projects in the works, proud finishes, and a variety of techniques, tips, and tools. On my recent visit to the States, I was able to catch up with my aunt, and let's just say that there was a flurry of conversation that would put any non-quilter to sleep. Of course the topic of applique came up because I had taken my Summer Garden blocks with me to work on. When I asked her about starch applique, knowing that she is a master appliquer, I was puzzled by her hum-ho response... in my opinion, starch applique is THE best thing since sliced bread... how could she not love it and not want to applique everything with it?!?
So I've come up with my 10 BEST starch applique tips to pass along:
1. Let's talk STARCH - make sure it's PURE (starch tips for Germany, see below)
Let's just start with NOT ALL STARCH IS CREATED EQUAL, and I found out first hand why my aunt had been so indifferent to the starch applique method. With that being said, here's what I found when testing different starch brands.
- Faultless Heavy Starch was the first starch that I tried and I was not at all impressed. It really felt like work without the result of a nice, clean, crisp edge. This might work beautifully for ironing shirts that are not stiff, but you can leave it on the shelf if you want to applique.
- Niagara is the brand that was the most well-known to me. It was a small tick better than the Faultless brand, but it still felt like too much work to get too little results.
- Sta-Flo from Purex (found at Wal-Mart) is a concentrated liquid starch, and is my top pick for starch applique. Despite the fact that you might be tempted, DO NOT dilute the starch with water... not even a little smidge, you must use it PURE. One advantage is that this already comes in liquid form and you don't have to wait for the spray foam to liquefy. Sometimes there are some light, flaky "scales" left on the back side, but those can be lightly scratched of with the fingernail. They are definitely not bothersome enough to avoid this product.
- Additional Notes: Faultless also offers a concentrated liquid, but I have no comparisons since I've not tested it. The label suggests that it is also for crafts.

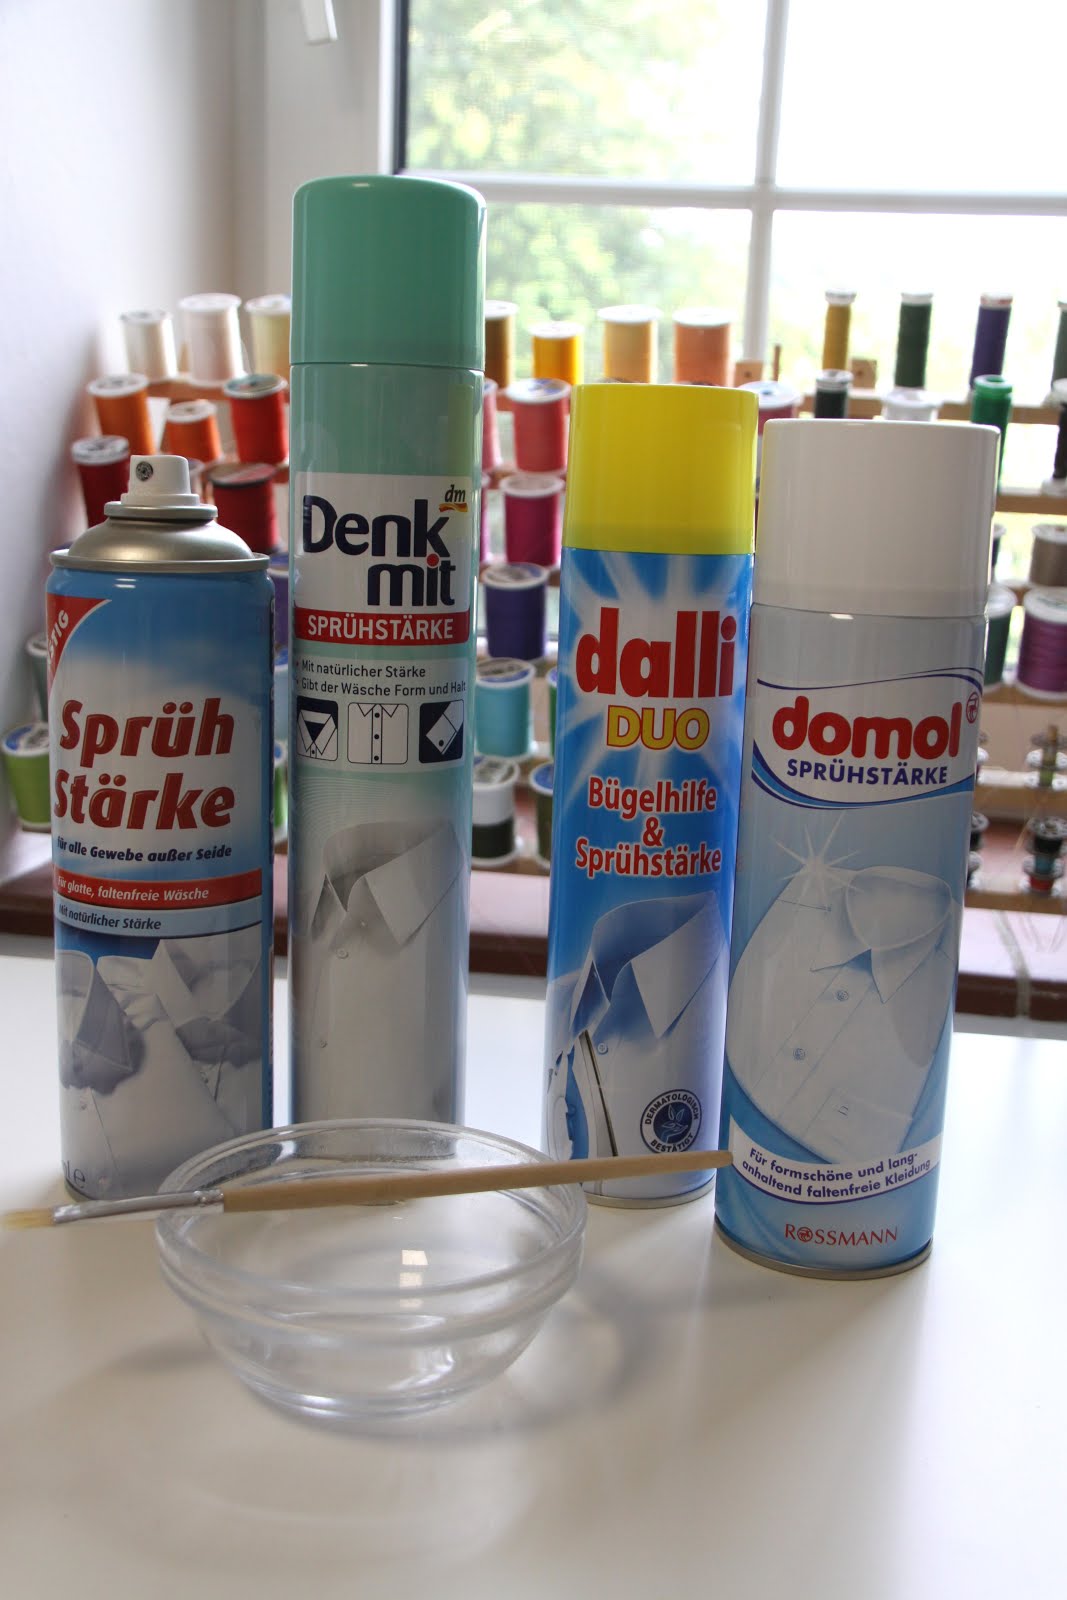
STARCH IN GERMANY (skip over this part if you're in the US)
- Sprüh Stärke von Edeka is my favorite and top pick of the German brands that I've tried. It gives a really crisp and clean finish, there are no flakes, and it has a nice hold. A+ for this brand that does starch applique the right way.
- Denk Mit von DM seems to be the starch that is closest to my favorite Edeka brand. It is even similar in smell, but it is listed to also include "Hilfsstoffe" which is missing from the Edeka brand.
- Domol von Rossmann gets a good rating, but it is not as good as Denk Mit or my favorite Edeka brand. It is very foamy when you spray and evaporates to a thinner liquid than the above two. You do have to work more to get the shapes to lay flat with this brand.
- Dalli Duo (I think I found this by REWE) I actually bought this by mistake not noticing that it has an extra "Bügelhilfe" in addition to the Sprühstäke, which explains why I had the same poor results that I had with the two US brands, Faultless and Niagara above. These extra additives give this brand a poor rating from me.
Now that you you've learned more than you'll ever need to know about starch, there are a few other tools/notions/tips that you will need:
2. Make yourself a PRESSING BOARD I find that it's nice to have a portable surface that you can use to finish your applique shapes. Because of the small size of a pressing board, you can use it outside, in the car, on the couch, or even by the pool (trust me, I did it). Another benefit is that you save your regular ironing board cover. Between the really hot iron and the starch, It's actually quite easy to get your board a little messy. Check out YouTube for tutorials.

3. Use a STIFF BRUSH for "painting" the starch on At first I had tried a softer bristle brush because it's desirable for painting, and I assumed that it would be the same for applique. What I found was that when the brush was more stiff I could apply in a more controlled way without drenching my freezer paper shape.

4. That iron is REALLY HOT! - Pay Close Attention When reading reviews about mini irons, there are two major complaints that I've noticed... firstly, that the iron is hot, and I mean REALLY hot. This is where I think to myself, well, duh, but it has to be hot for the most desired results. I think if one is aware how hot the irons are, it's easier to pay attention. The second major complaint is that the stand is not that stable. Somehow manufacturers just have not come up with a good solution for this, but it's a flaw I'm willing to live with considering the end results. I was able to compare two different mini irons because I was not able to take my German mini iron with me to the States (different cable/voltage)
- In the US I tried the Clover Mini Iron. With Clover being a brand that I am already familiar with, I had high expectations. Even though the iron has a high and a low setting, I found that it wasn't quite hot enough, another complaint that other reviewers had given. It was sufficient, and I would still give it a good rating, but it didn't completely meet my expectations. On that note, it IS very important to get a mini iron with a high and low setting.
- The iron that I use in Germany is a Komerci Mini Iron. This was a gamble for me that paid off. I was unfamiliar with the brand, but found it to be my favorite of the two. The tip is slender and I assume it holds the heat better since the head is thicker.
- Additional notes: You can also use a regular or small travel iron, but just remember to keep the steam OFF.

5. FREEZER PAPER is a quilters best friend. Freezer paper is an appliquers best friend (and quilters too). For starch applique it's best to layer your freezer paper for stability. You can double up, triple up, or more if you want. Just place the freezer papers on top of each other shiny sides down. The beauty of it is that the shapes can be reused. TIP: If you are tracing shapes from a template, I find that it's best to draw the shapes on a single sheet of freezer paper before ironing on the second layer. TIP: Even though you might have 20 leaves in one applique block, I usually make at least two leaves despite the fact that they can be re-used, so I can work on several shapes at a time. (If you are in Germany, don't worry, you can find Freezer Paper on Amazon... and the Reynold's brand is the way to go)

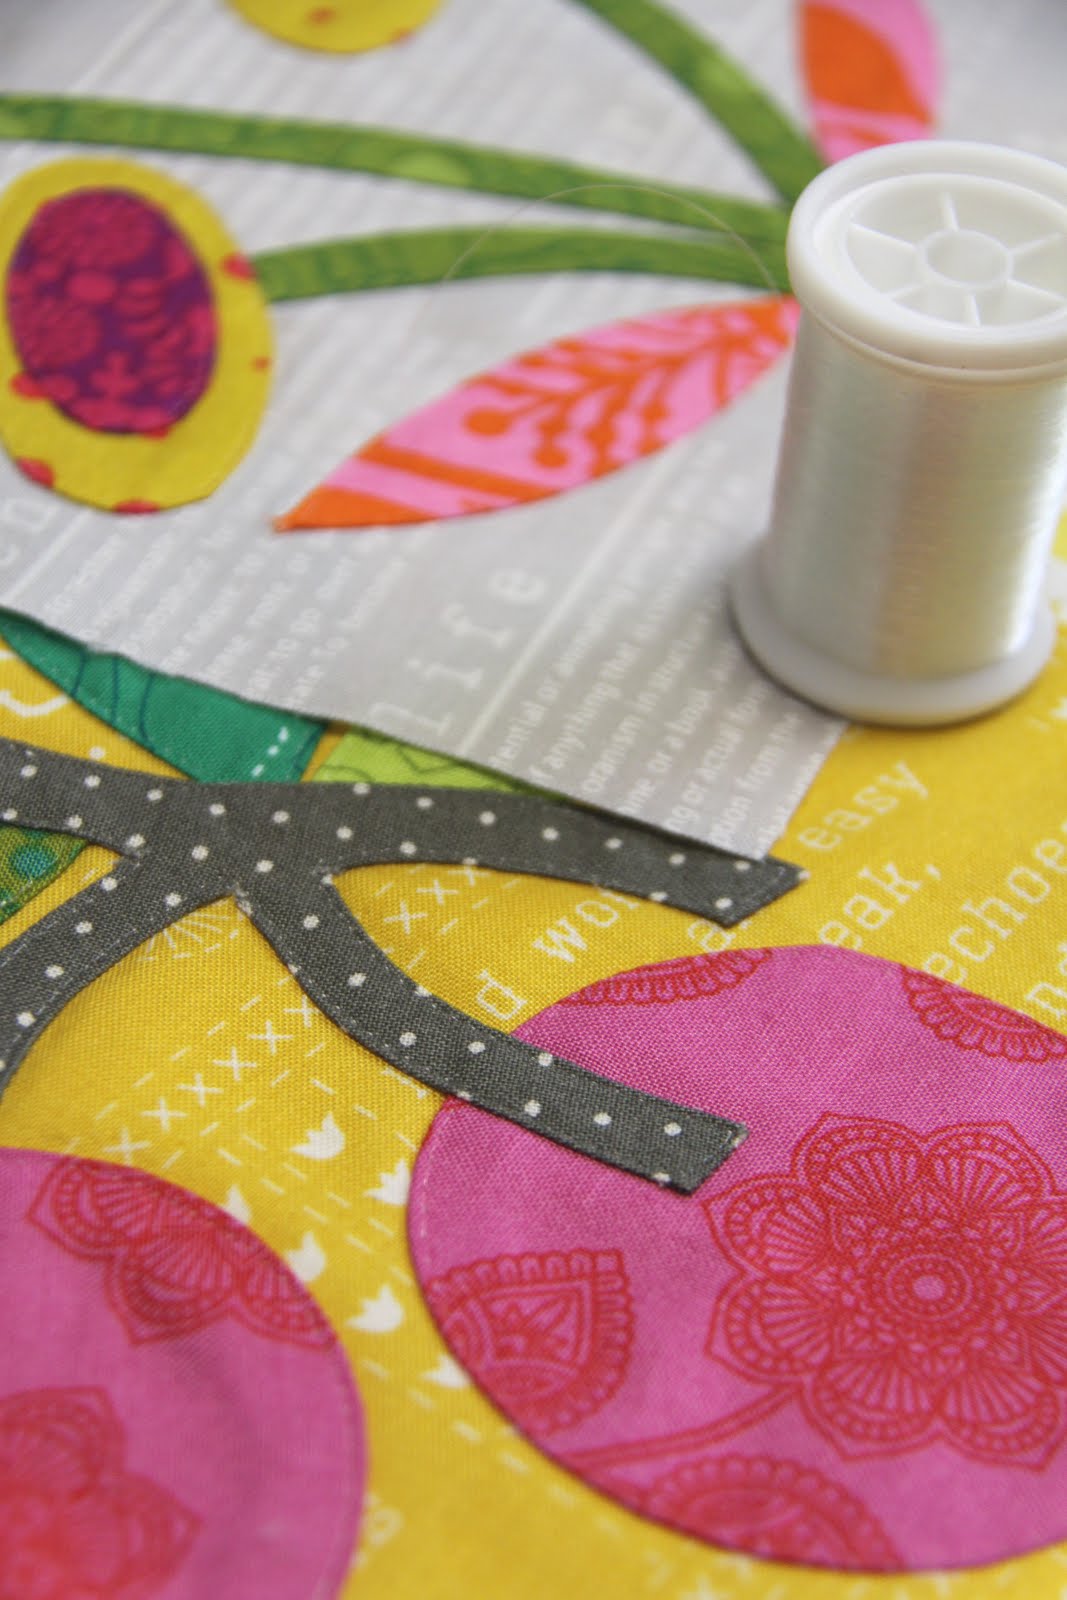
6. Remember to THINK BACKWARDS. If your flower template is pointing to the left, and you simply trace it, when you have your finished applique shape, it will be pointing to the right... so you have to think backwards. Just to keep it real, you can see how I made a mistake and traced this stem on the wrong side...ooops.

7. Take a NUMBER, please As I trace the applique shapes, I put a number on the paper side of the freezer paper shape that matches the block number because you may want to use them again OR just in case they get separated from the group you can find where they belong. If there are, for example, a lot of leaves in a block, I might also label them R, L (right, left) T, B, M (top, bottom, middle), etc.

8. STAY ORGANIZED My mother would be quite shocked that this statement actually came from my mouth, but she's right. Find a way to sort and store your applique shapes so you can pick up and leave off as you need to. I found a nicely bound, clear pages folder/organizer, which means that the applique shapes that I have started can stay filed with the block template. I can easily flip though the book when planning the next block.


9. Keep your bags packed - Do a SCRAP PULL When working on an applique project, it really helps to have all your scraps sorted in advance and in one place. Store them in a box, bag, a basket, or whatever you like so that you always have a project packed up and ready to go.


10. Pick the STITCH that fits YOU best Everyone has their favorite method for applique. While many prefer hand stitching blocks, there are those of us who prefer the machine stitching for either patience or health reasons. For a straight or blind stitch on the machine, I like to use an invisible thread. The beauty of an invisible thread is that you don't have to change the top thread with each color change. It's not necessary to use invisible thread in the bobbin, but it is very important to remember to adjust your thread tension.
Never tried the starch applique method, but you'd like to? Check out this video from The Fat Quarter shop and get started.

For the life of me, I cannot figure out which is the shiny side of freezer paper.... any suggestions?!?
ReplyDeleteYou can usually feel which side is the paper side and which is the shiny side. The paper side feels a little more coarse, and the shiny side is smooth and your fingers slip a bit on it. In general, you cannot write on the shiny side... try marking both sides with a pencil and the paper side is darker and the pencil doesn't slide on it. Are you using Reynold's brand?
DeleteThanks, Allison, this is really helpful! I've tried several appliqué methods and find that different ones are optimal for me, depending on the shape and size of the piece to be appliquéd. Sometimes I prefer needle-turn, but for the bigger ones definitely the starch method. Love your brand testing report!
ReplyDeleteI love the look of needle turn, but my fingers don't love it! ; )
DeleteThanks for such a great post!
ReplyDeleteAllison, you are great! Thank you for the through list of tips. they are very useful. Have a lovely day, should you go to the sewing meeting in Hamburg this weekend. =)
ReplyDeleteWish you could make it... maybe next time. LG
DeleteGreat tips, Allison! Thank you for putting them together. I may share your blog post with my readers with a link back to you, of course. I hope that would be ok.
ReplyDeleteThanks so much. It took a while to put this together, but I think in the end helpful to others wanting to learn this fabulous technique. Sure you can link back to my post… isn’t that what quilting is all about – sharing what you know with others?
DeleteI've done a lot of appliqué using freezer paper but I've never used starch before, I can see the advantages though. I'm looking to start a new hand project to save me transporting my machine to my quilting group, I'll try your method, thank you.
ReplyDeleteI've never heard of starch appliqué, so I'm a little lost with this post. Sounds good. I'll see if I can find a YouTube clip about it.
ReplyDeleteExcellent tips. Sounds like I should try a new kind of starch.
ReplyDeleteThanks for your tips, I don't do much hand applique (maybe in the near future, never knows!) but I do use starch for cumbersome piecing.Your work is awesome!
ReplyDeleteDear Allison, thanks again for these tips, they are helping so much. Greetings Christiane
ReplyDeleteI found your tips on a Google search, and OMG you aren’t lying about the Edeka starch! I bought a can on your recommendation and it beats Faultless HANDS DOWN. Danke schön!
ReplyDelete