Step1.) Cut your purse interfacing as you would normally (or whatever project you are working on)
Step 2.) Cut two rectangles larger than the size zipper you are planning to use. For example: I sew with a 6 inch zipper (ca . 15 cm) So I need to allow enough fabric on either side of the zipper. My measurements end up being 9 inches wide (ca. 29 cm) by 7 inches high (ca. 18 cm)
Step 3.) Draw a rectangle on the pocket fabric measuring the length of the zipper. My rectangle is 6 inches in length (ca . 15 cm) by 3/8 inch wide(ca. 1 cm). This leaves about 1 1/2 inches (ca. 4 cm) on either side of the zipper. Next draw a line in the center of the rectangle with a triangle on each end as shown.

Step 4.) Pin pocket to interfacing, making sure to center.

Step 5.) Sew completely around drawn rectangle. DO NOT sew drawn center line or end triangles.
 Step 6.) Using sharp scissors, cut down the center line and follow the markings for the triangles cutting towards the corners of the rectangle. Be careful to not cut through stitching.
Step 7.) Pull the fabric square pocket through the opening cut that was made towards the back.

Step 8.) Roll seams out until the pocket opening lays flat. Iron out seams. Rectangle will now be on the back side of the interfacing.

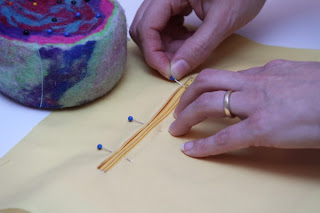
Step 9.) Place the interfacing over the zipper and align zipper into position. Pin into place.

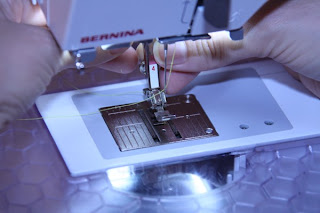
Step 10.) Change the presser foot to the zipper foot. Be sure to adjust the needle position so that the needle will be completely to the left. This will allow you to so closely to the zipper without going over the zipper.

Step 11.) Stitch completely around the zipper, basically sewing a rectangle around the zipper. Sew as closely as possible, without crossing over the zipper.

Step 12:) Zipper is complete (yeah! you made it through the hard part!)

No comments :
Post a Comment
Your comments are what makes blogging fun for me!